
What this solves
You need more (or less) resources on an existing service and want the exact Client Area path.
Web hosting — self-serve Upgrade/Downgrade
- Log in at clientarea.ihoster24.com
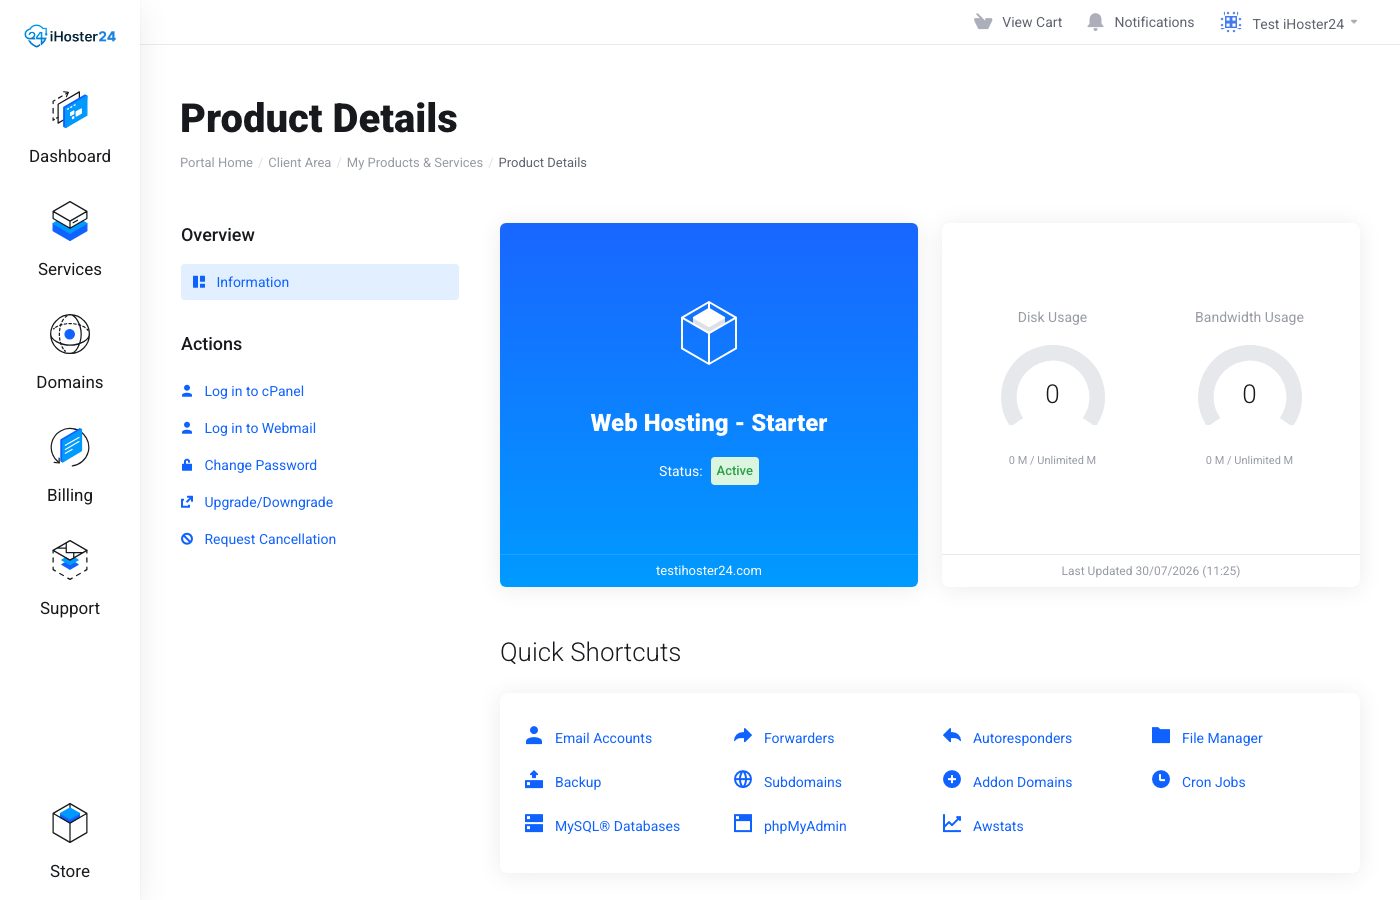
- Go to Services → My Products & Services → open your hosting product
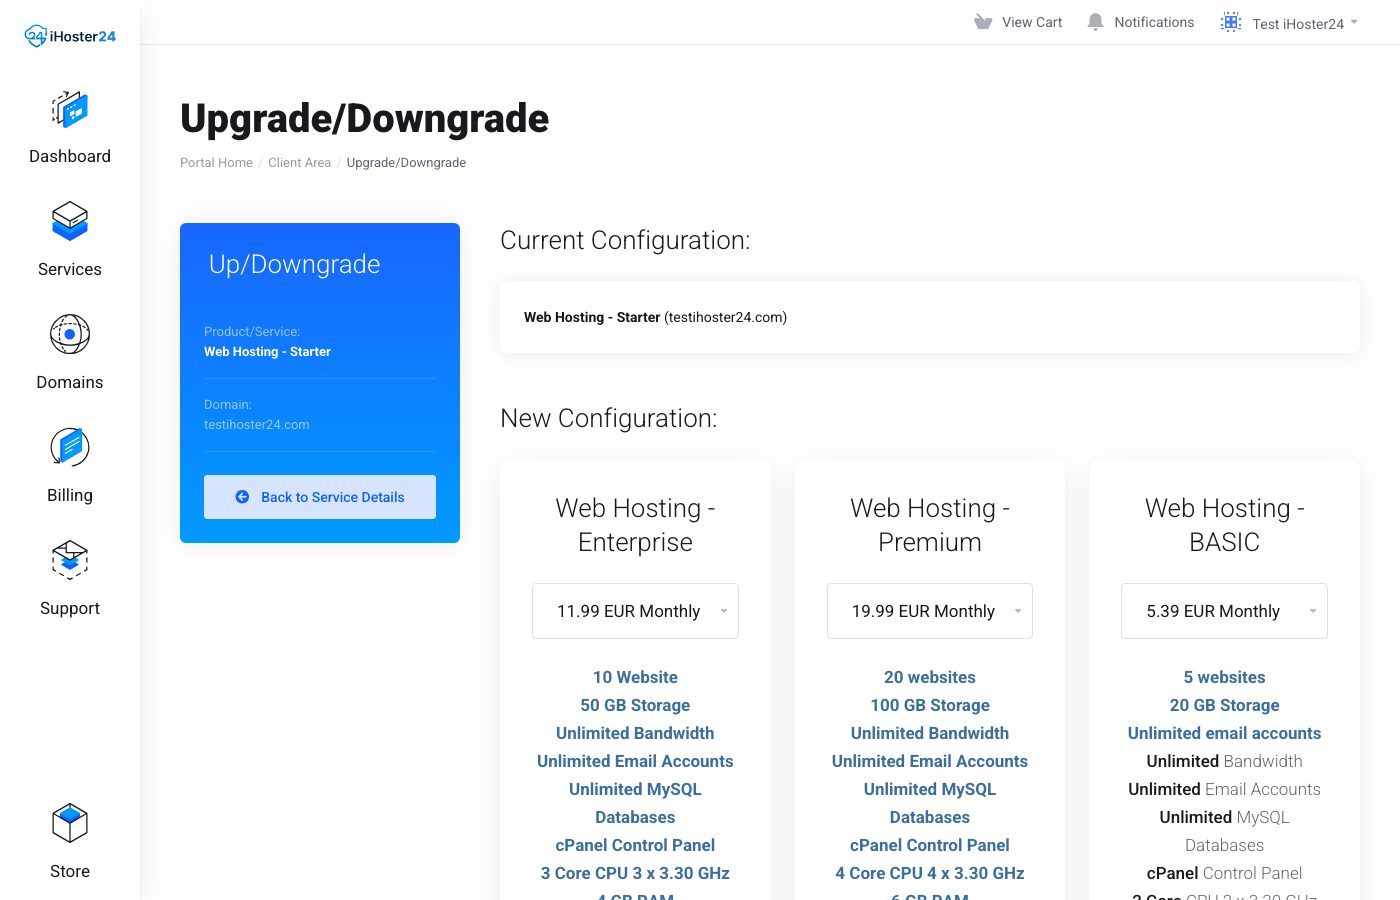
- In the left Actions menu, click Upgrade/Downgrade
- Choose the new package and complete checkout (prorated billing applies for upgrades)
VPS — request via Support or Sales
VPS products do not show a self-serve Upgrade/Downgrade action. Open a Support ticket (or contact Sales) with the service ID and the resources you need (vCPU, RAM, disk). See How to upgrade your VPS resources.
Before you change plans
- Create a backup — cPanel backups or VPS backups
- For downgrades, confirm disk, databases, and email counts fit the lower plan
Note: Refunds for the current term usually do not apply when downgrading; see our Refund Policy.
When to contact support
If Upgrade/Downgrade errors at checkout, or you need a custom plan, open a ticket with the product name and desired package.
Was this helpful?
Thanks for your feedback!