

What this solves
Your VPS email says “Your VPS is ready.” This checklist gets you online safely on iHoster24 (KVM, NVMe, dedicated IPv4).
Step 1: Collect details
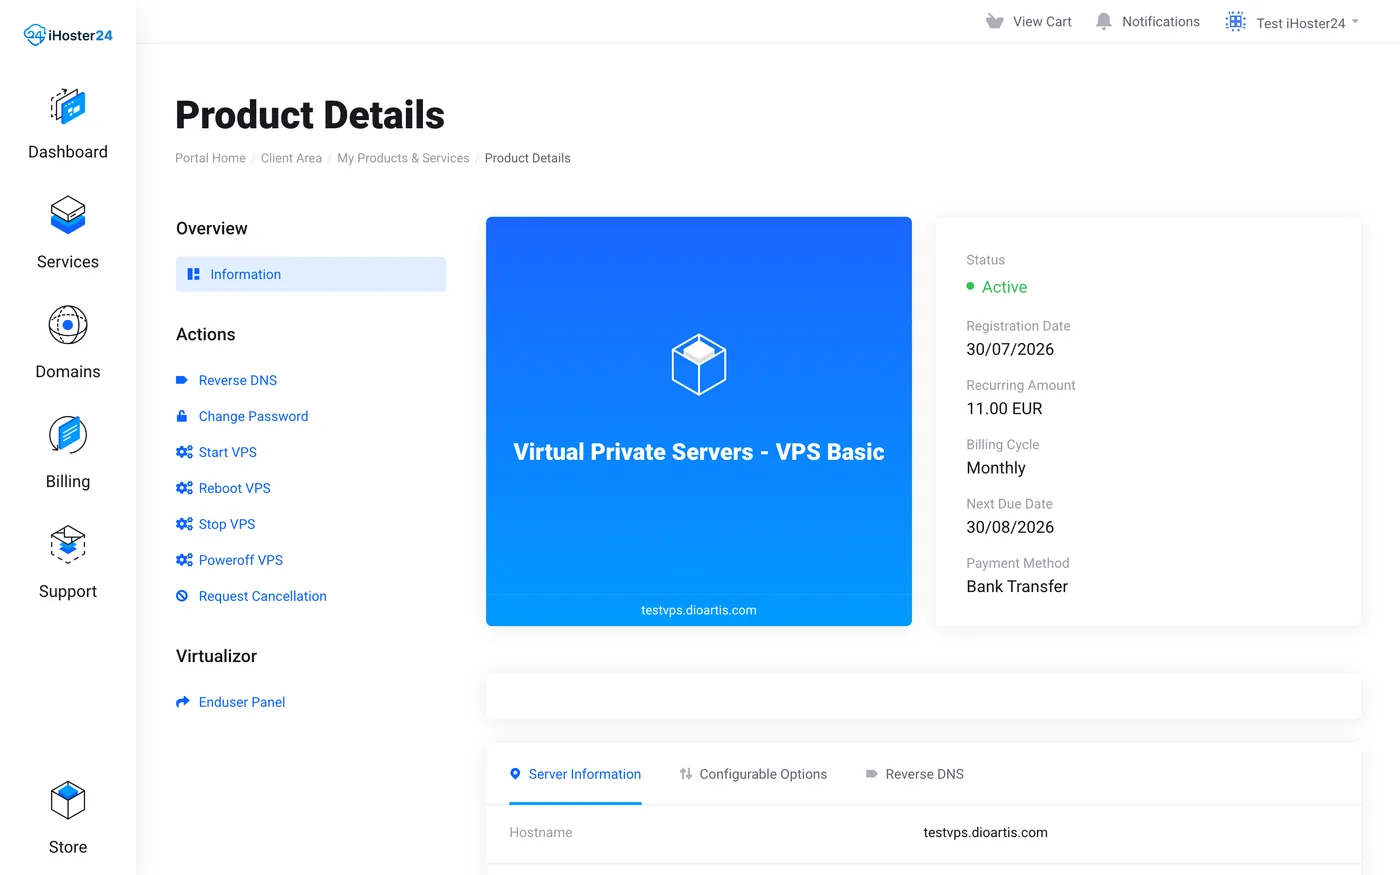
From the welcome email or Client Area → Services → your VPS → Server Information:
- Hostname
- Primary IP (and Assigned IPs if any)
- Login:
root - Password (welcome email / Change Password)
Step 2: Log in via SSH
Run ssh root@YOUR_VPS_IP. See “VPS SSH login basics” for Mac/Windows details.
Step 3: Change the root password
Run passwd, or use Change Password under Actions in Client Area. Store it securely.
Step 4: Update the system
Ubuntu/Debian: apt update && apt upgrade -y
AlmaLinux/Rocky/CentOS: dnf update -y
Step 5: Basic security
Create a sudo user, add SSH keys, open only needed firewall ports. See “How to secure your VPS”. If you lock yourself out, use the VNC console from Enduser Panel.
Step 6 (optional): Reverse DNS
For mail servers or clean PTR lookups: create an A record first, then set PTR under the Reverse DNS tab. See “How to set reverse DNS (PTR)”.
When to contact support
If you can’t connect, the IP is missing, or the OS doesn’t match what you ordered, open a ticket with the service ID.
Was this helpful?
Thanks for your feedback!