

What this solves
Your iHoster24 VPS is unmanaged at the OS level (you have full root), but power, console, OS reinstall, backups, and reverse DNS are available from Client Area and the Virtualizor Enduser Panel.
Open your VPS
- Log in at clientarea.ihoster24.com
- Go to Services → My Products & Services
- Open your VPS product (for example “Virtual Private Servers - VPS Basic”)
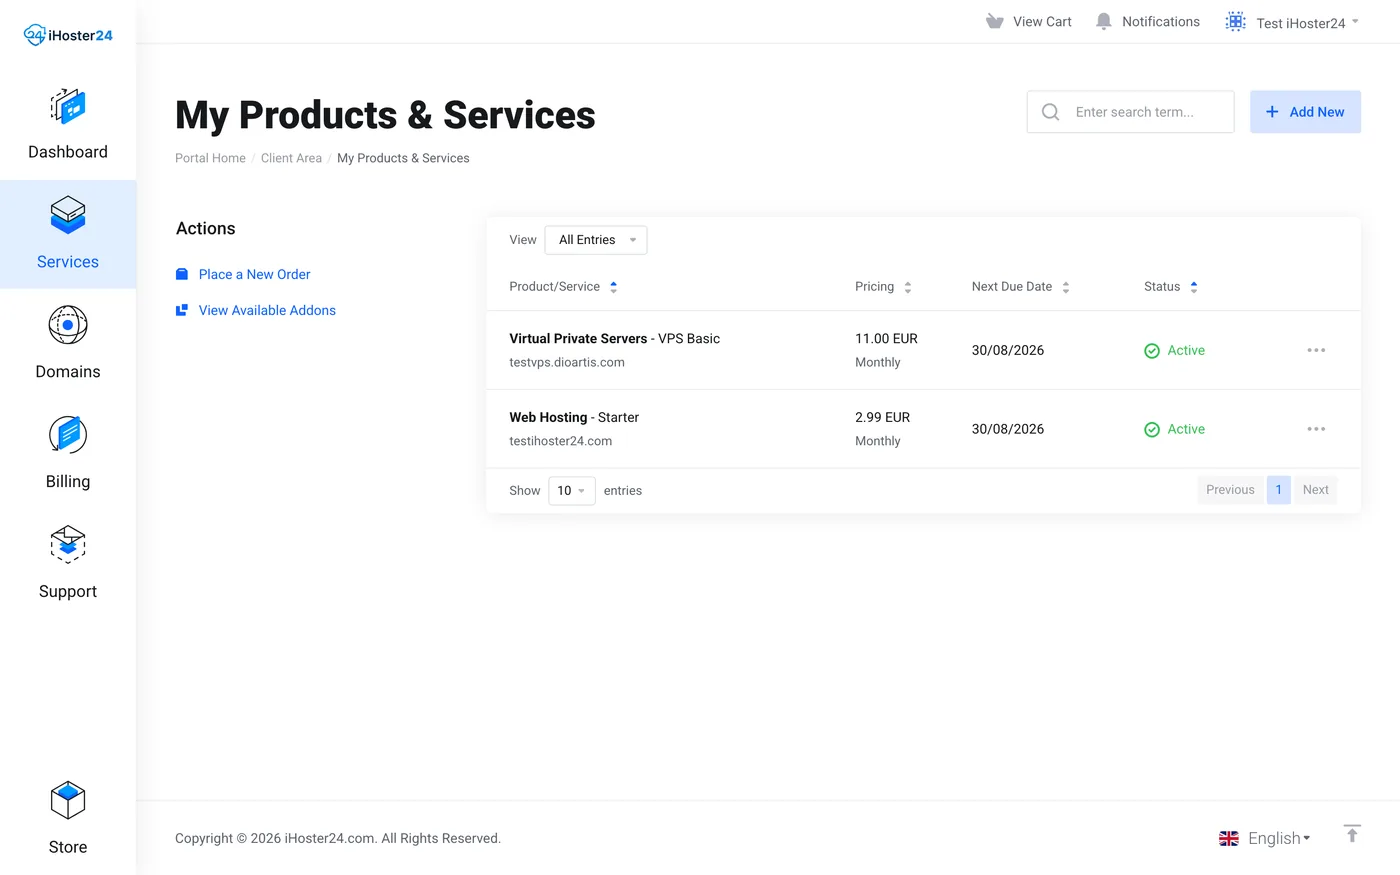
On the product page you will see status, hostname, Primary IP, Assigned IPs, and the left Actions / Virtualizor menus.
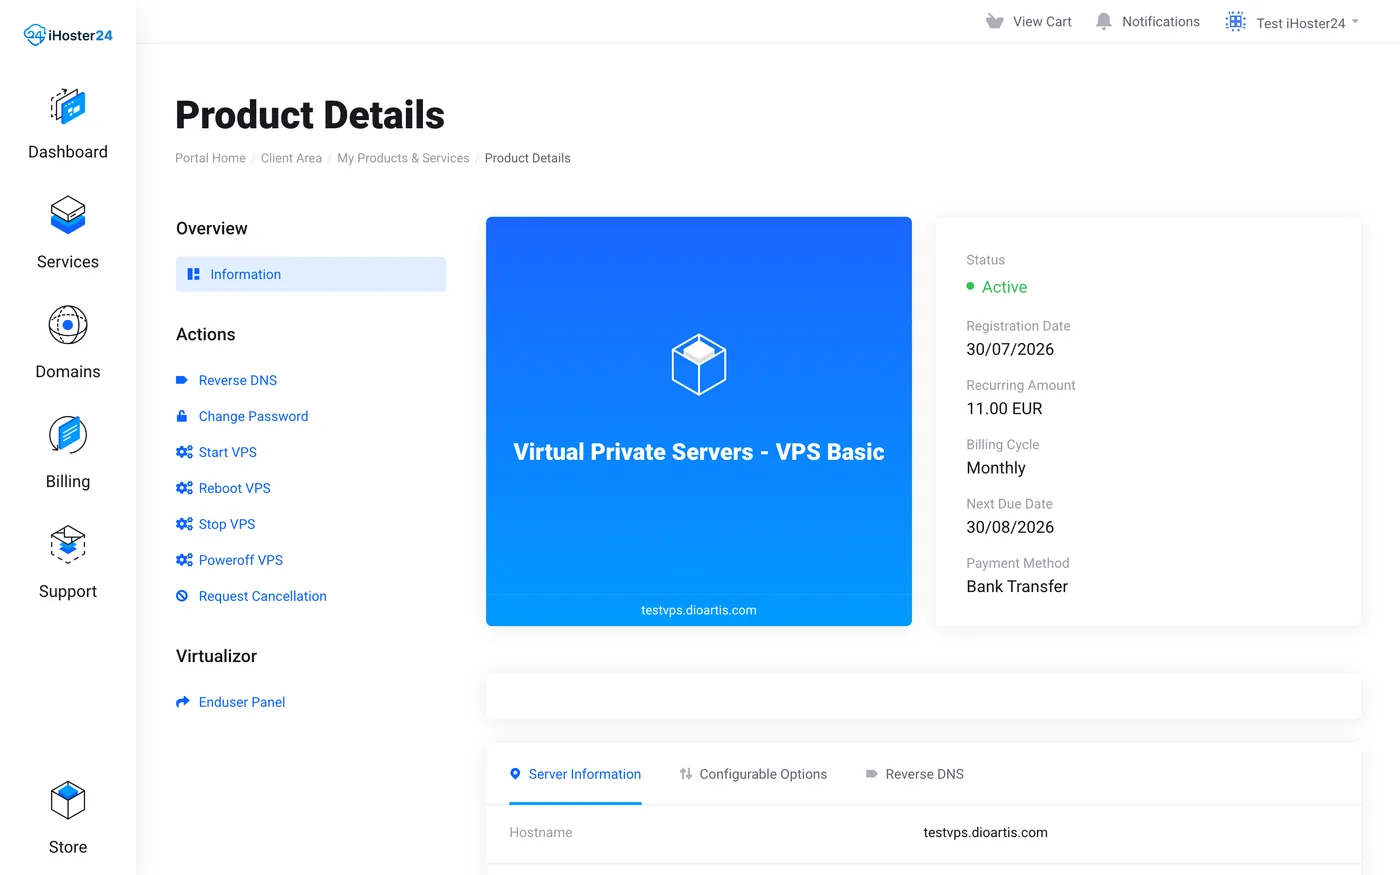
Actions in Client Area
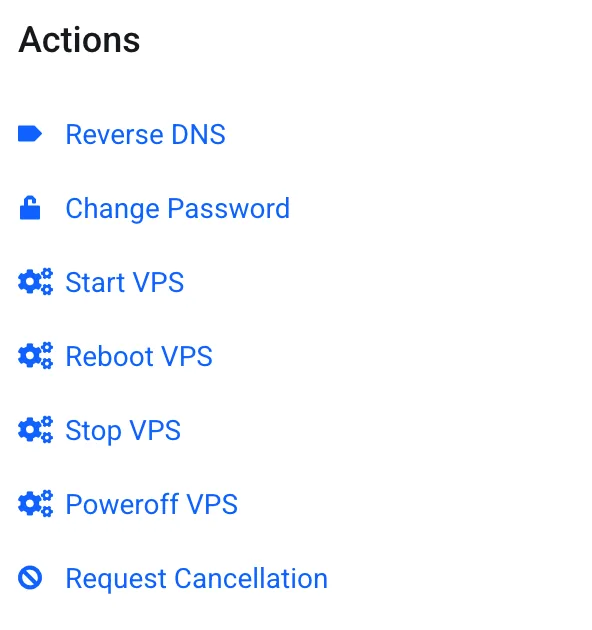
- Start VPS / Reboot VPS / Stop VPS / Poweroff VPS — power controls
- Change Password — update the service root password
- Reverse DNS — set PTR per IP
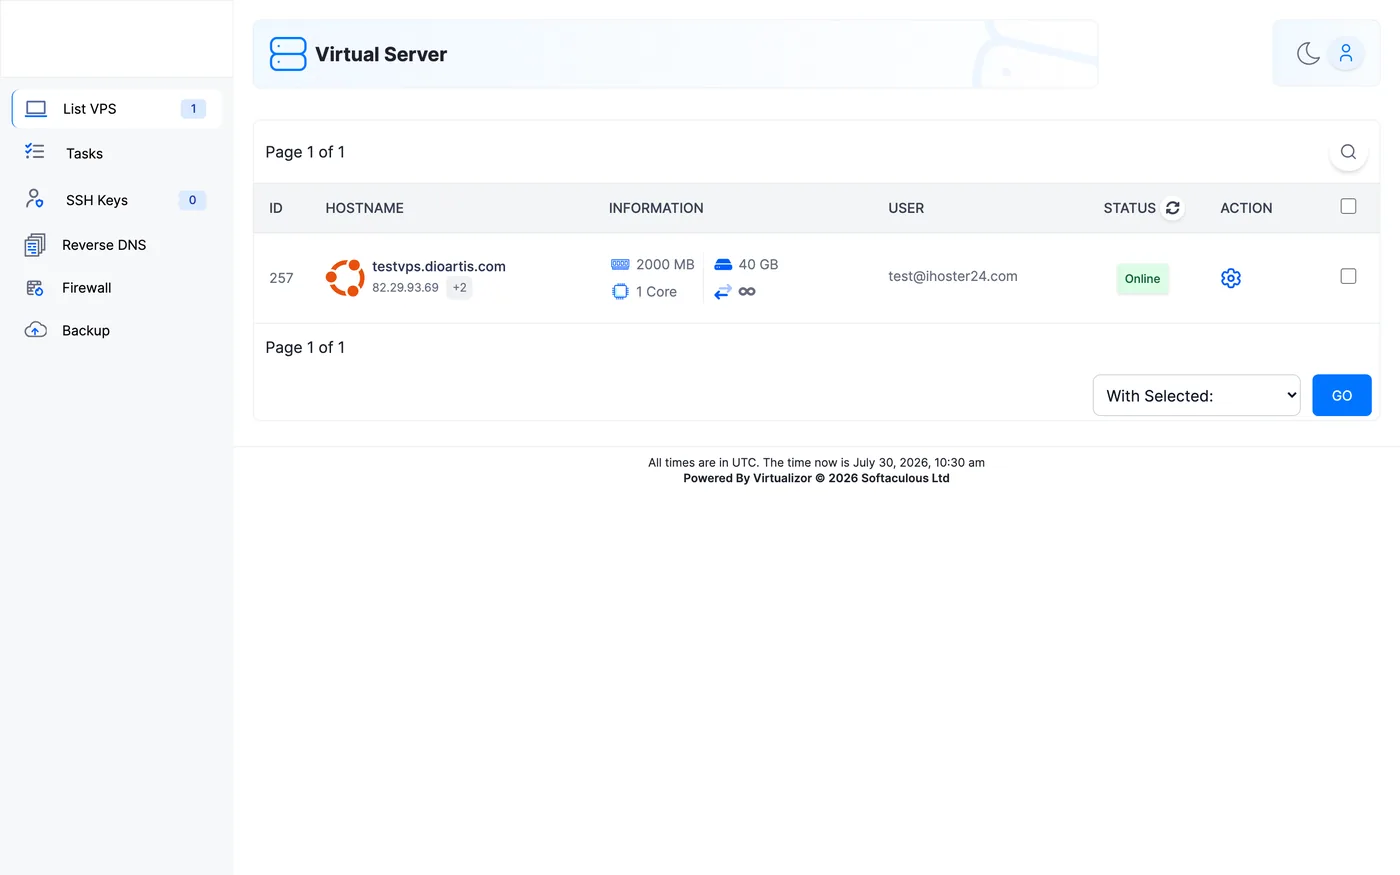
- Enduser Panel (under Virtualizor) — full panel: VNC, Install/Reinstall OS, Backup, Graphs, Networking, Rescue Mode
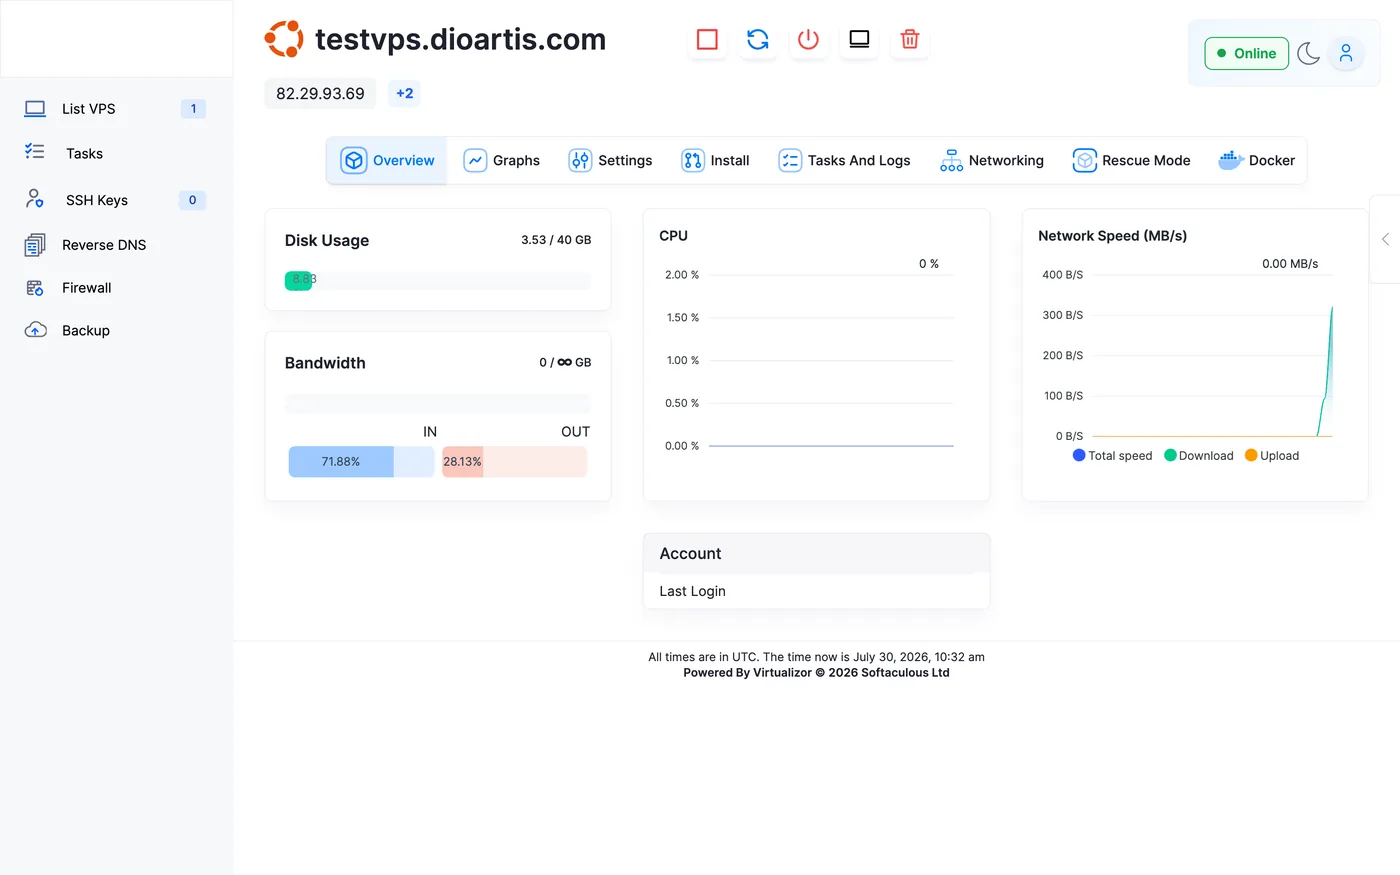
Credentials
SSH details are in the welcome email and under Server Information (hostname, Primary IP, Assigned IPs). Extra IPs appear when you ordered Additional IPs.
Tip: Bookmark the product details page for quick access after login.
When to contact support
If the service page shows errors, provisioning is stuck, or power actions fail, open a Technical ticket with the service ID and hostname.
Was this helpful?
Thanks for your feedback!